
Evvnt knows how to sell out events, we’ve been doing it for over 13 years now. What’s our secret?
The best way to sell more tickets is with a multitouch strategy that blends digital and grassroots marketing. Time your touchpoints so people move through clear stages—awareness → consideration → decision → FOMO—and end with an “I’m not missing this” commitment.
Cool story, but how do you actually do that?
By using storytelling to market your event—to the right people, in the right places, at the right time—and repeating it (smartly) across channels.
We’ve made a step-by-step checklist to get you there.
Author’s Note: We’re going to give you a lot of ideas here. Don’t let that overwhelm you. Consistency in your messaging is a really imperative piece of the event promotion puzzle so pick a few of these for your first event, build the muscle of learning how to do those well, and then layer on more for future events. Becoming a great event promoter is a marathon, not a sprint. Let Evvnt’s tools help you where and when we can.
Index: How to Sell More Tickets to Your Event
- Pick your theme & secure your venue
- Get your event listing live & tickets set up
- Send this out to your loyal fans
- Create your social media campaign templates & schedule
- Consider micro-influencers in your town
- Distribute your print media
- Do your press tour
- Send your last-minute FOMO push
Pick your theme & secure your venue
Timeline:
-
100+ guests: start 4–6 months out
-
30–100 guests: 2–3 months out
-
10–20 guests: ~1 month out
Why this matters: Theme + venue set your audience, tone, and expectations. These things create the story your event goer will be imagining in their minds when considering your event. Decide early so every other decision aligns (pricing, partners, decor, content, ads).
How to do it:
-
Choose a layered theme (specific, but not chaotic). Instead of “Halloween party,” go “French Quarter 1800s Vampire Soirée.” Now your music, food, dress code, decor, and photo ops naturally stem from that.
-
If you’re a business driving foot traffic, don’t default to a generic “karaoke night.” Rotate monthly sub-themes (e.g., “90s Grunge Bands,” “Y2K Pop Icons”) so regulars have a reason to return.
-
Pick a venue with built-in audience overlap. A venue whose regulars match your target vibe becomes a multiplier: your event + their list + their socials + their foot traffic.
-
Lock key logistics early: room layout, sound, load-in/out, parking, ADA accessibility, family-friendly or 21+, rain plan. Each of these becomes a selling point later.
-
Define your promise in one sentence: “A candlelit, jazz-tinged vampire night with craft absinthe tastings and a live second-line procession.” This is the north star for all copy and creatives.
-
Set high-level goals: target attendance, gross ticket revenue, sponsor targets, email signups captured on-site. If you don’t set these now, you can’t optimize later.
Pro tip: Take half an hour to build a simple Canva moodboard (colors, fonts, photo references) and a two-line style guide. It keeps every flyer, post, and ad consistent. It also allows you to step into your audience’s imagination as you begin to create this story for them.
Get your event listing live & tickets set up
Timeline:
-
100+ guests: launch listing + early bird tickets ~90 days out
-
Smaller ticketed events: ~30 days out (earlier is fine if details are solid)
Why this matters: Most buyers don’t convert on first touch. You need time for repeated exposure across search, social, email and word-of-mouth.
How to do it:
-
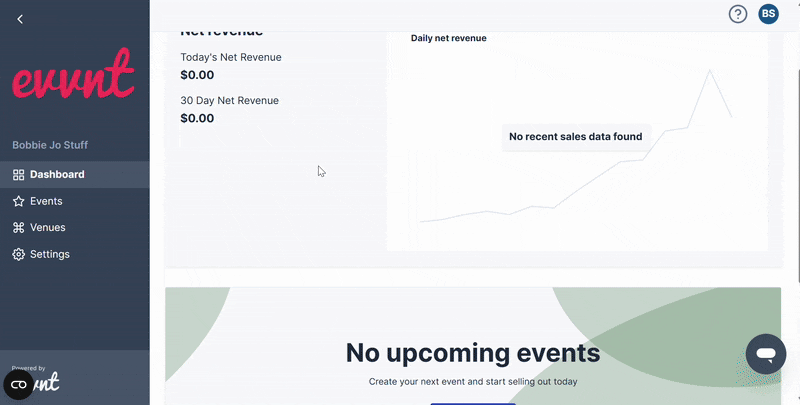
Publish your listing now (even if a few details are TBD). Use Evvnt’s Premium Ticketing to publish your event online and easily sell tickets.
-
Structure smart ticket pricing:
-
Early Bird (limited quantity or deadline)
-
General Admission
-
Last-Chance / Door Price (anchor value)
-
Bundles & Groups (2-packs, 4-packs, family)
-
VIP/Experiences (skip line, reserved seating, meet-and-greet, merch item)
-
-
Add urgency + clarity on the page: a simple schedule, headliners/features, what’s included, parking/doors, age rules, refund policy, and FAQ.
-
Instrumentation from day one:
-
UTM tags for every link you share
-
Pixel(s) installed on the ticketing/checkout path
-
A short post-purchase survey (“Where did you hear about this?”)
-
-
Collect emails ethically: add a “Get updates/discounts” opt-in on the listing and checkout. That list becomes your highest-ROI channel later.
-
Creative kit: hero images (1:1, 4:5, 16:9), a 6–10 second vertical teaser, and a square promo tile. You’ll reuse these across channels.
Pro tip: Put a small “Holds & Comps” policy in place for partners, media, and influencers so you can move quickly when opportunities pop up.
Send your event out to your loyal fans
Timeline: Immediately after your listing + tickets go live
Why this matters: Your warmest audience converts first and shares most. Kickstart momentum, social proof, and algorithmic reach. Make the send feel personal. Like you’re inviting them to be your featured, special guest. Don’t make it too cheesy, just put some real in it.
How to do it:
-
Email + SMS your inner circle: past attendees, loyalty members, VIPs, staff, performers, vendors and sponsors. Give them a private early-bird window or code (even 24–48 hours helps).
-
Arm them with assets: a short blurb, the ticket link with UTM, and 2–3 share-ready graphics/Reels. Lower the friction to share.
-
Referral juice: offer a simple “Bring 3 friends, get a VIP upgrade” or “Share your code for $X off, earn perks.”
-
Activate venue channels: ask the venue to post to their socials, newsletter and in-house screens; place a QR poster at the bar/host stand leading directly to tickets.
-
Community placements: neighborhood Facebook groups, Reddit, Nextdoor (follow rules), local hobby clubs. Keep posts concise, visual and location-anchored.
-
Seed early testimonials: if this is a returning event, reshare quotes/photos; if it’s new, capture quick 10–15s clips from partners or talent endorsing it.
Pro tip: Create a Launch Day Checklist (email sent ✔, venue post ✔, partner posts ✔, stories with link sticker ✔, QR posters hung ✔). Mark it done in one sitting to create an immediate “pop.”
Create your social media campaign templates & schedule
Timeline: Start building 60–90 days before, launch 45+ days before.
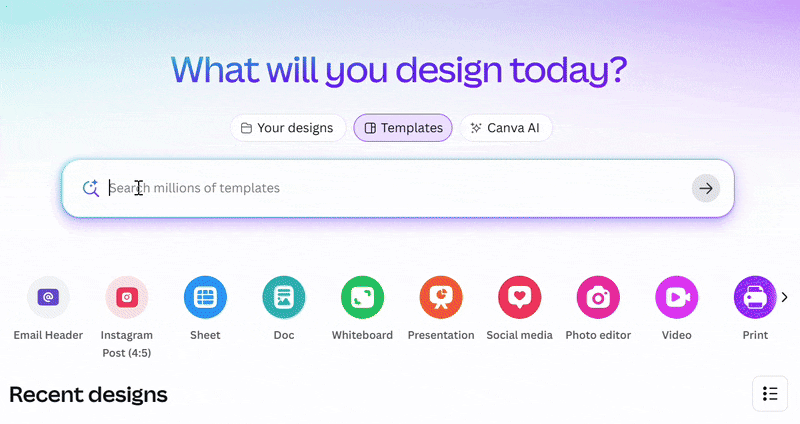
Social is where most eventgoers first discover you, so consistency is key. You don’t have to be a graphic designer. You need to get on Canva and search templates for social media. They have a large variety that you can update to make your own and even resize as needed. Keep it fun and engaging in terms of asking them questions that help them imagine themselves at your event, with their loved ones, having the time of their lives. Don’t reinvent the wheel with every post—create a small content kit:
-
3–5 branded graphics you can swap text into (square, vertical, story size).
-
A short teaser video (15–30 seconds).
-
A vertical countdown animation.
-
A “why you should come” quote card or testimonial.
Schedule it:
-
90–60 days out: 1 post per week, mix of awareness + theme teasers.
-
45–30 days out: 2–3 posts per week, introduce talent, vendors, or special elements.
-
30–14 days out: 3–5 posts per week, polls, reels, contests.
-
Final week: Daily countdown, behind-the-scenes prep, “last chance” urgency.
Pro tip: Add event hashtags, geotags, and trending audios. Every small boost expands reach.
Consider micro-influencers in your town
Timeline: 45–60 days out, with check-ins leading up to the event.
Forget celebrities—local micro-influencers (2k–10k followers) convert better because their audiences trust them. Target influencers in niches aligned with your theme: foodie pages for a tasting event, parent bloggers for a family festival, fitness coaches for a 5K.
Ways to engage:
-
Give them a free ticket + a friend pass.
-
Offer exclusive merch or VIP perks.
-
Let them run a giveaway (they post, their followers enter, you grow).
-
Invite them to go Live from the event or share behind-the-scenes prep.
Pro tip: Provide influencers with ready-made captions, hashtags, and images so they can post fast. The easier you make it, the more they’ll share.
Distribute your print media
Timeline: 30–45 days out.
Print still works—especially locally. Posters, flyers, table tents, postcards, and even stickers act as physical reminders. Always include a QR code that leads directly to your ticket page.
Best placements:
-
Coffee shops, gyms, salons, breweries, boutique shops.
-
Venue entrance and bar areas.
-
Local bulletin boards, co-working spaces, libraries.
Tie offline to online: use trackable QR codes or custom URLs to measure what’s working.
Pro tip: Design your print so it doubles as a photo backdrop or flyer people want to share (bold colors, fun theme tie-in).
Do your press tour
Timeline: 2–3 weeks out.
Local press = free credibility and reach. Create a short, upbeat press release: “Why this event matters to the community + what makes it unique.” Send it to local news outlets, lifestyle bloggers, radio stations, podcasts, and community calendars.
Go beyond press releases:
-
Offer ticket giveaways for radio/podcast hosts.
-
Pitch a local angle (charity tie-in, local performers, unique theme).
-
Submit to online event listings (newspapers, city blogs, Meetup groups).
Pro tip: Train one spokesperson (you or talent) with a 15–30 second pitch that nails the vibe in one breath. Media loves quick soundbites.
Send your last-minute FOMO push
Timeline: 7–5 days out through the day of the event. But especially the Thursday afternoon before the event.
Thursday afternoons paychecks hit and folks are dreaming of the weekend. This is by far the sweetest spot to get an event goer through the decision process. This is the urgency phase—the one where undecided people finally commit. Hit every channel at once:
-
Email blast: Put it in their inbox Thursday at 3 p.m. for that boost. Both our ticketing and marketing platform offers a Premium Email tool which curates a warm leads list in the town of your event and sends them an email for you. This is the best time to schedule that campaign! Subject lines like “Last chance to grab tickets in (Put exact city name in subject line)” work really well.

-
SMS reminders: direct, 1–2 lines with the ticket link.
-
Social countdowns: “3 days to go…,” live Q&As, venue walk-throughs.
-
Ticket scarcity updates: “Only 20 VIP left,” “GA almost gone.”
Don’t be afraid to repeat yourself. The last-minute buyers need multiple nudges.
Pro tip: On event day, post Stories showing the line forming, soundcheck, food setup—people still buy at the door or online right before.
✅ With this checklist, you’re not just promoting—you’re building momentum. Each phase overlaps so eventgoers see your brand again and again until skipping your event feels impossible.